
For some time now, portrait quilts have intrigued me. After studying them, listening to You Tube tutorials, reading and imagining, I finally jumped in and gave it a try last week. There are as many styles and techniques as there are quilters, as we all know, so I kept reminding myself that there is no wrong or right when it comes to quilting.
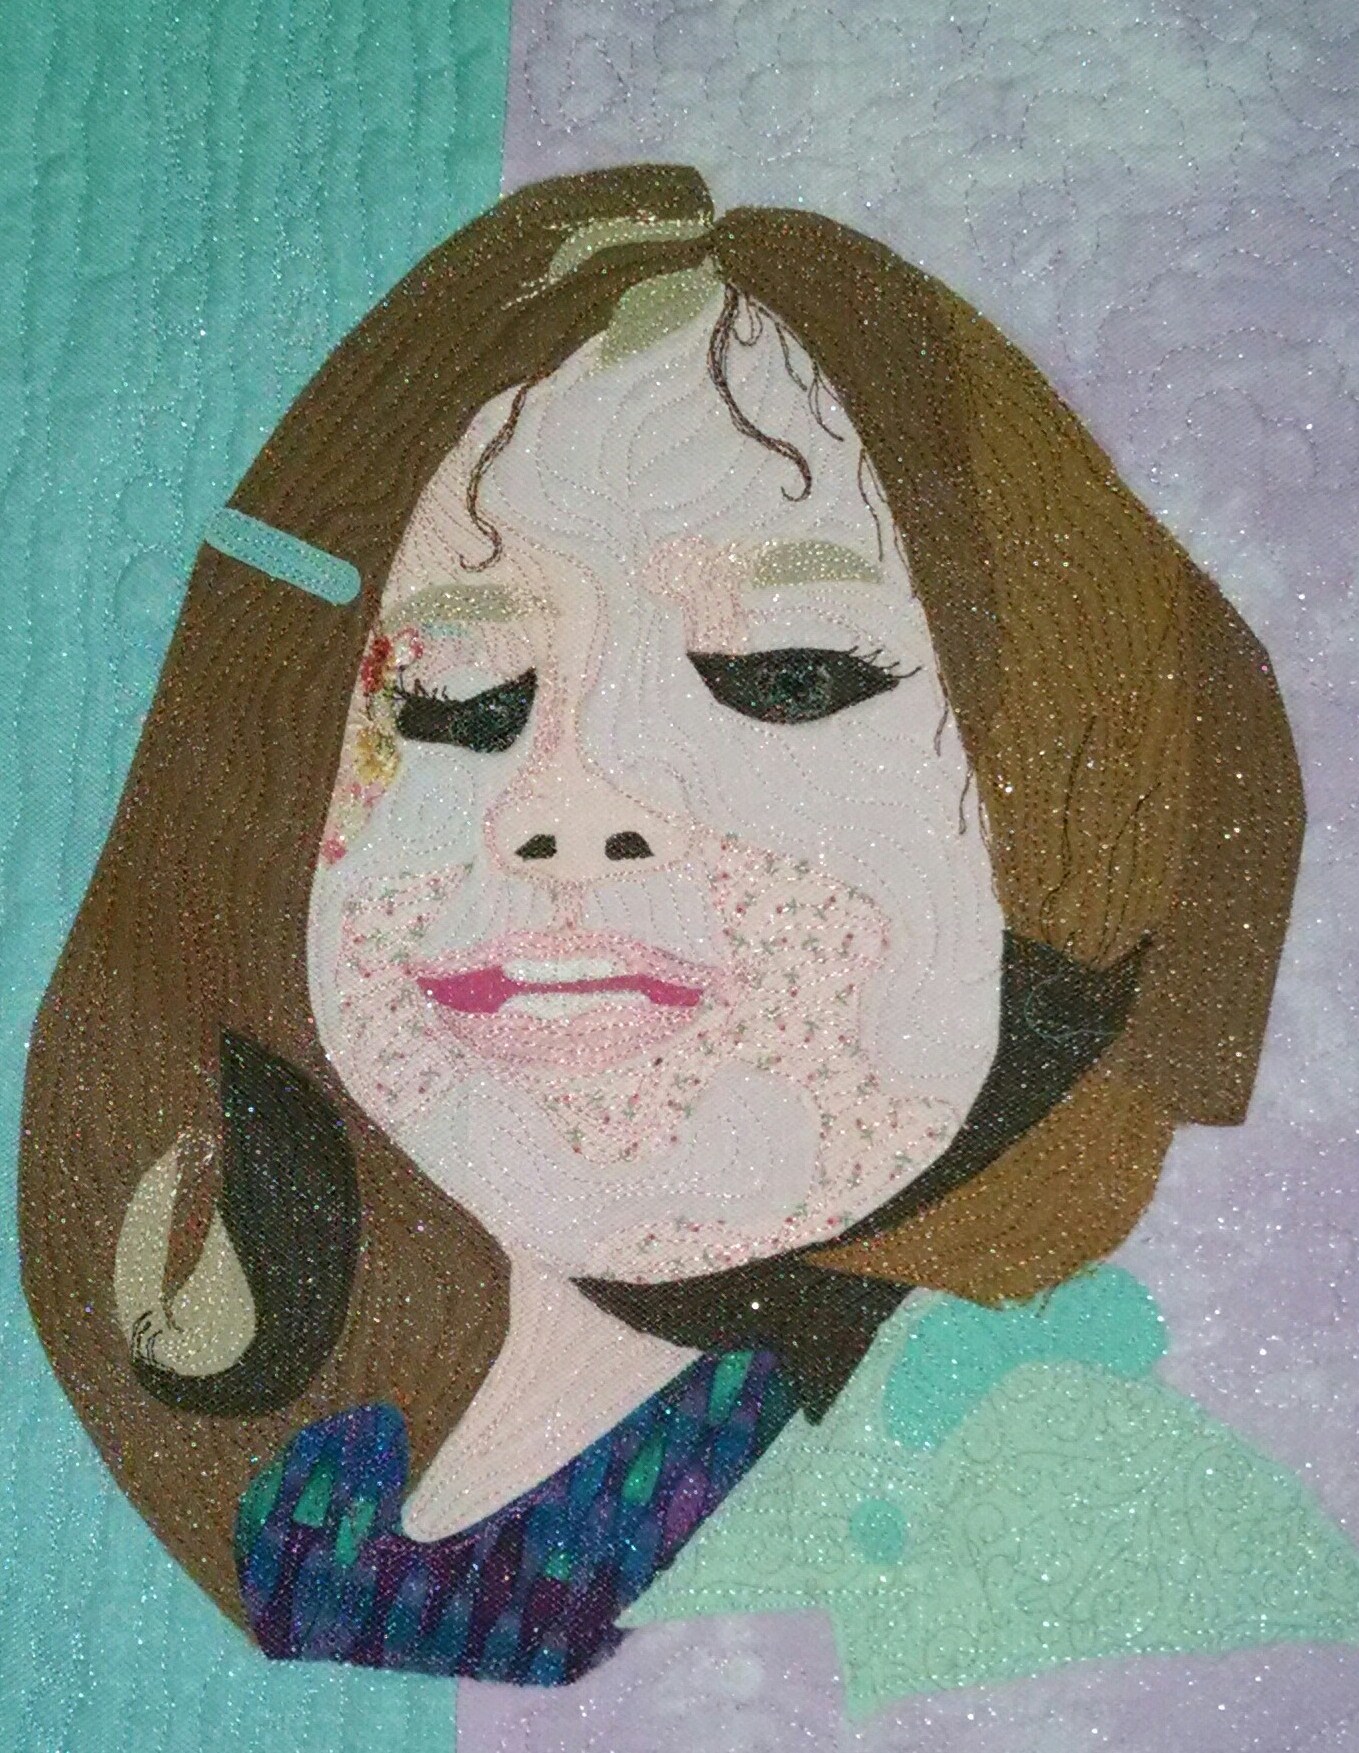
I started with a selfie, posted by my son, as selfies already have a nice low number of megapixels, making it easily simplified, and because the distortion makes me smile. This was to be a trial piece and I anticipated it would go in a scrap pile somewhere when finished. It really surprised me, therefore, when I actually started to really like it. Many authors have mentioned that, with art quilting, you need to feel free to just go where the quilt takes you, and that it will often take it’s own direction. Initially it was to be just the isolated head of my granddaughter, but as that neared completion, the distortion of the selfie begged to be explained, so the cell phone border was added, complete with hand embroidered icons and a sparkly “screen”. The title then went from “A Selfie for Grandma”, to “Facetime with Gemma”.
The simplified process was as follows:
1. Using a photo editor, the head was isolated and simplified using a poster app.
2. The result was printed in gray scale and I then traced around each piece I was seeing, using parchment. By cutting the parchment pieces apart, you have a pattern.
3. At this point you need to consider the process you plan to use. If doing hand applique you need to add 1/4 inch all around each piece, but I planned to bond and machine applique, Bonding is applied to each fabric you plan to use, then the pieces are cut out. (I traced onto the bond paper, so had to place my pattern face down as well.)
4. The face on mine was treated as a base, with the smaller pieces ironed on. Then the whole face was bonded to the background fabric. I stitched close to all the edges before making a quilt sandwich, and used hand and machine embroidery on the eyes, eyebrows and eyelashes. The rest of the quilting and machine embroidery were done after layering the quilt sandwich.
If you wish more detail on any of the steps, feel free to contact me through the comments. I am always ready to talk about quilting.
