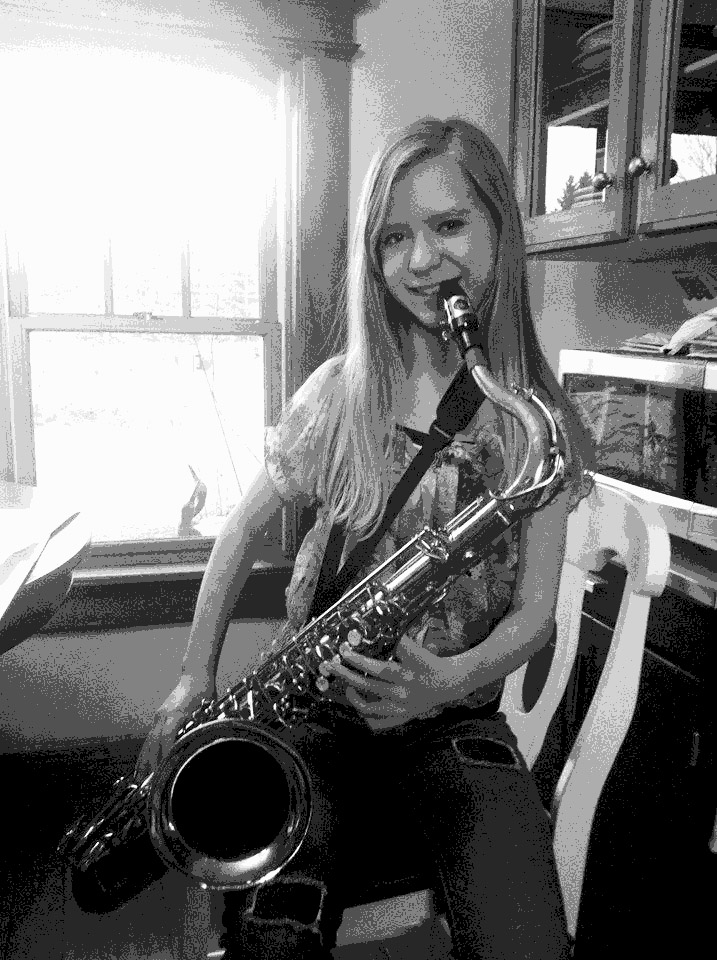
My talented granddaughter recently experimented with the alto sax. (This proud grandma can’t avoid mentioning the fact that she is proficient on the flute, but I’ll refrain from listing her other wonderful talents and attributes, so that we can get back to the quilting.) I liked this photo so much that I wanted to try a wall hanging from it. Here is the process used:
- The first step was using a photo editing program to posterize, change to gray scale, and enlarge the photo. The enlarged photo was then printed in sections. You may have to think through programs available to you, to accomplish this. Once printed, the sections were overlapped and taped, to recreate the picture.
- Use a broad marker to outline the shapes you will use as patterns.
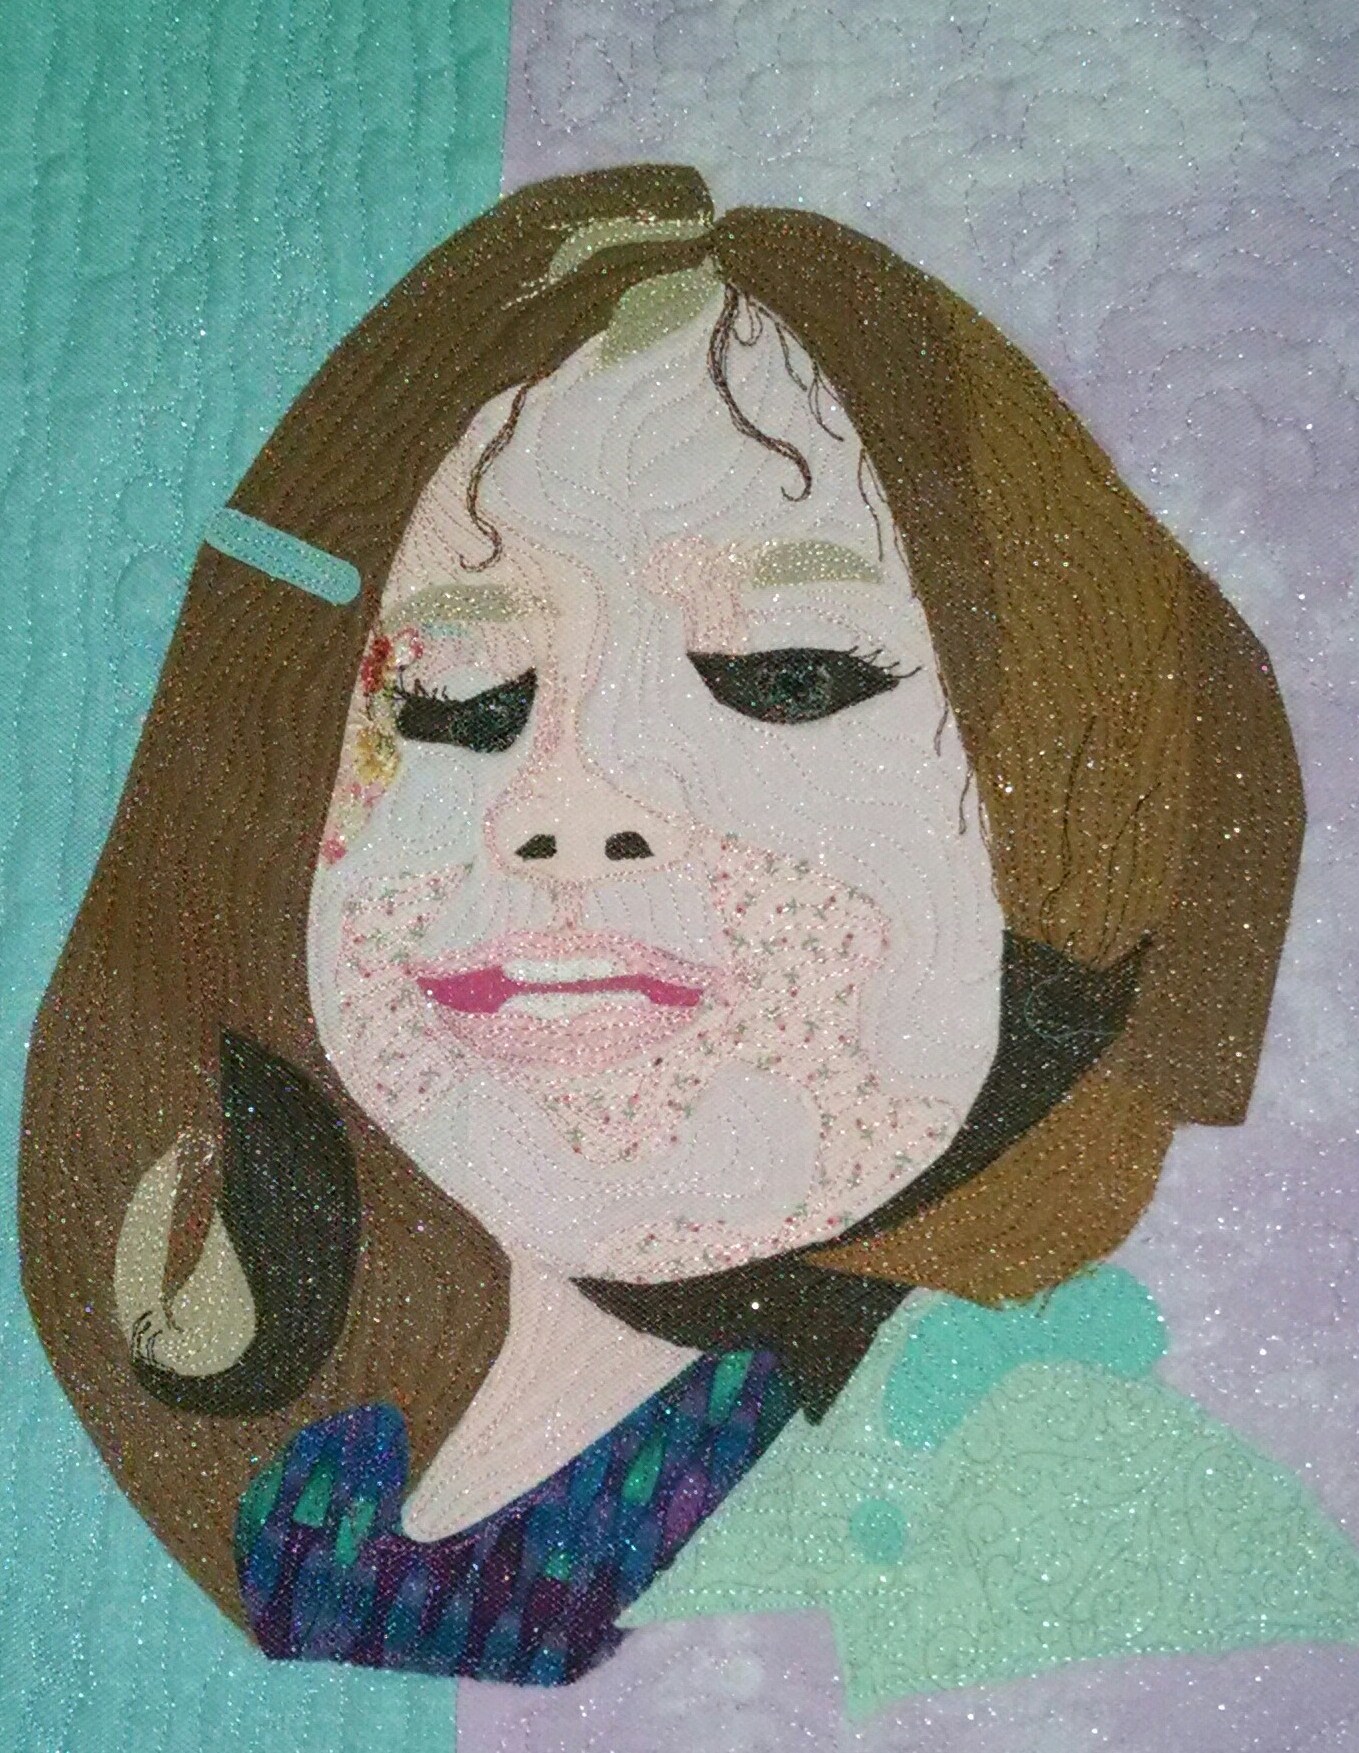
- I decided there were areas of background that could be pieced at random, and prepared these next. (As the first photo shows, this included mainly areas to the upper right and upper left) These were then attached to a light muslin base the size of the completed quilt.
- I now started building the images of granddaughter and sax from background pieces up, by tracing the desired area onto tracing paper and cutting them from my chosen fabric, already attached to a fusible backing. These were pressed in place, sometimes directly onto the muslin, but at other times (such as in completing the face) the pieces were first assembled by ironing them onto a non-stick surface. An applique pressing sheet was used, but the release paper from a previous fusing process also works. As pieces were added to the muslin they were machine stitched, using both straight and decorative stitches. (Unfortunately the photos for this post are not clear enough to show detail, but this means you will freely use your own imagination.)
- When the image was complete, I chose to add borders, then a quilt sandwich was formed (quilt, light weight cotton batting and backing fabric) and was bonded together with basting adhesive.
- Now came the fun part. Free-motion quilting was used to add dimension to everything. If this is not joyful for you, however, a machine straight stitch would work just fine for all the quilting.
- A traditional binding was then attached.
While I enjoyed the process of this, my second portrait quilt, it has probably become just another chapter in my quilting education. I am ever drawn onward to learning new techniques. If another portrait quilt is attempted, I believe it will be more spontaneous and abstract. But half the fun in this learning process is finding out what happens next!
Feel free to ask questions in the comment section, and I would love to hear about your quilting experiences.