Northwest Michigan is an area of great beauty, and this is one of my favorite photogenic spots. When faced with designing something for a Michigan themed auction, this was the scene I chose to work from. I drew the scene freehand, to the best of my meager artistic ability, onto freezer paper, (Chosen for having some body, but being easy to cut.) It would have been great if I had taken a photo of this step, but because it is a simple photo, you can easily find logical places for fabric changes.
Once fabric was chosen, I attached fusible web to an appropriate amount of fabric. The freezer paper drawing was cut into pieces, and I chose to immediately trace these onto the backing of my prepared fabric. Care was taken to see that the pattern piece was face down on the backing.
My pieces were laid out as they were cut, and I added overlap when I cut the pieces on which others would be layered. If you are a beginner and this does not quite make sense, watch for my next attempt at a landscape and I will take it step-by-step. (Of course, comments requesting this will motivate me to get this done, as that is just the way I am. Retirement is blissful.)
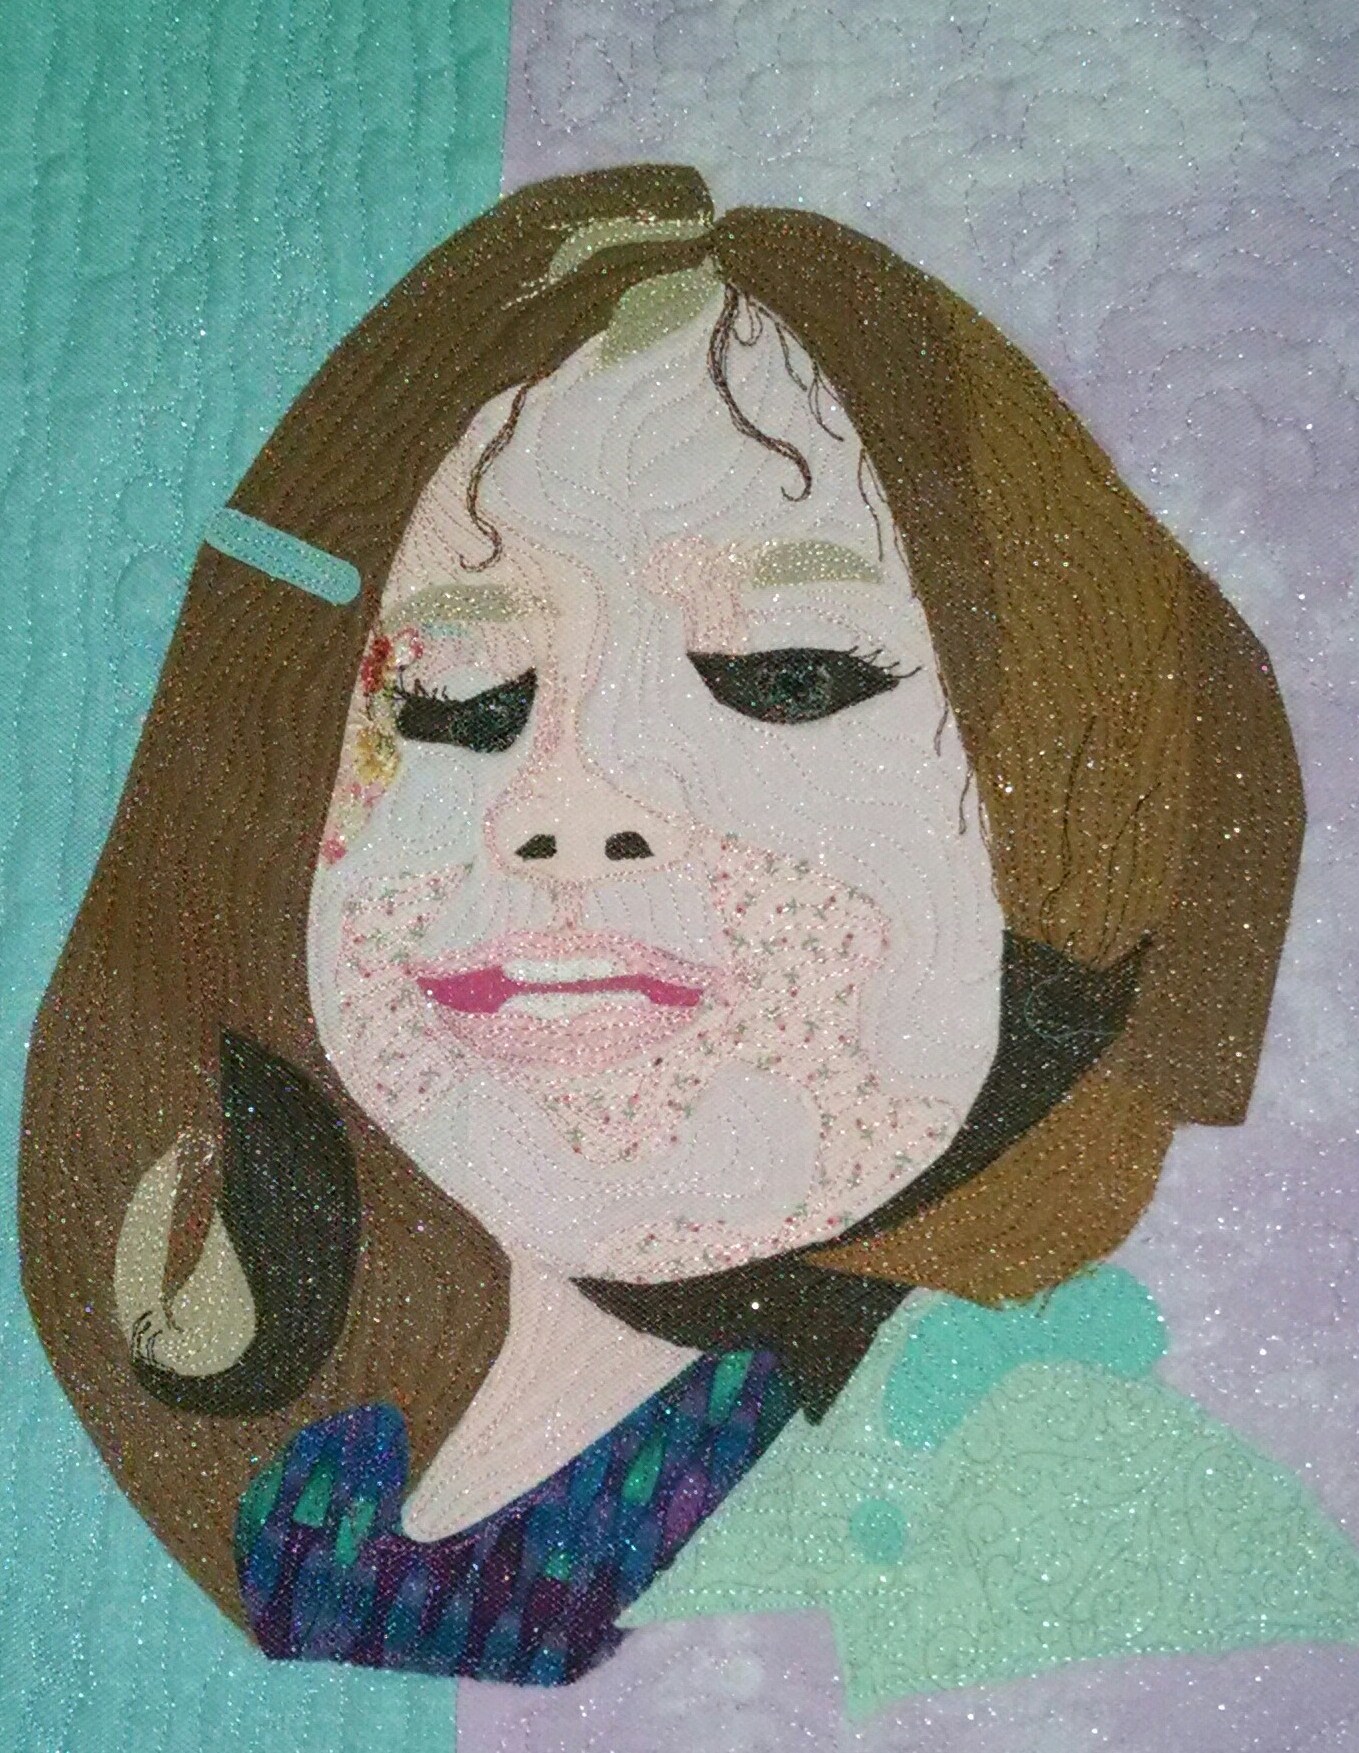
Once the pieces for the picture were assembled, by pressing to bond over parchment (to protect the ironing board) I did some free-motion embroidery to create the trees, grass, flip-flop detail and wood grain on the planks. Next the borders were added and the quilt sandwich was created. The free-motion quilting is always my favorite part. I know by then that it can only look better with each stitch.