Tag Archives: simple quilt design

Too Many Coffee Breaks

Paper Pieced Coffee Quilt

Believe it or not, I actually do quilt almost every single day.  Blogging about the work as I go, however, has not been my strong suit.  Maybe if I bring this quilt to my PC for coffee breaks, I could write a few lines about what I am working on daily.

You may have noticed that I don’t have a lot of interest (or ability, for that matter) when it comes to piecing by a pattern. It is exciting to me to try many different techniques, with the expectation that some trend will develop in my quilts, but thus far that hasn’t happened.  That being said, I am currently working on a quilt club “Mystery Quilt” which is involving hundreds of little pieces, which may (or may not) evolve into a neat, precise whole.

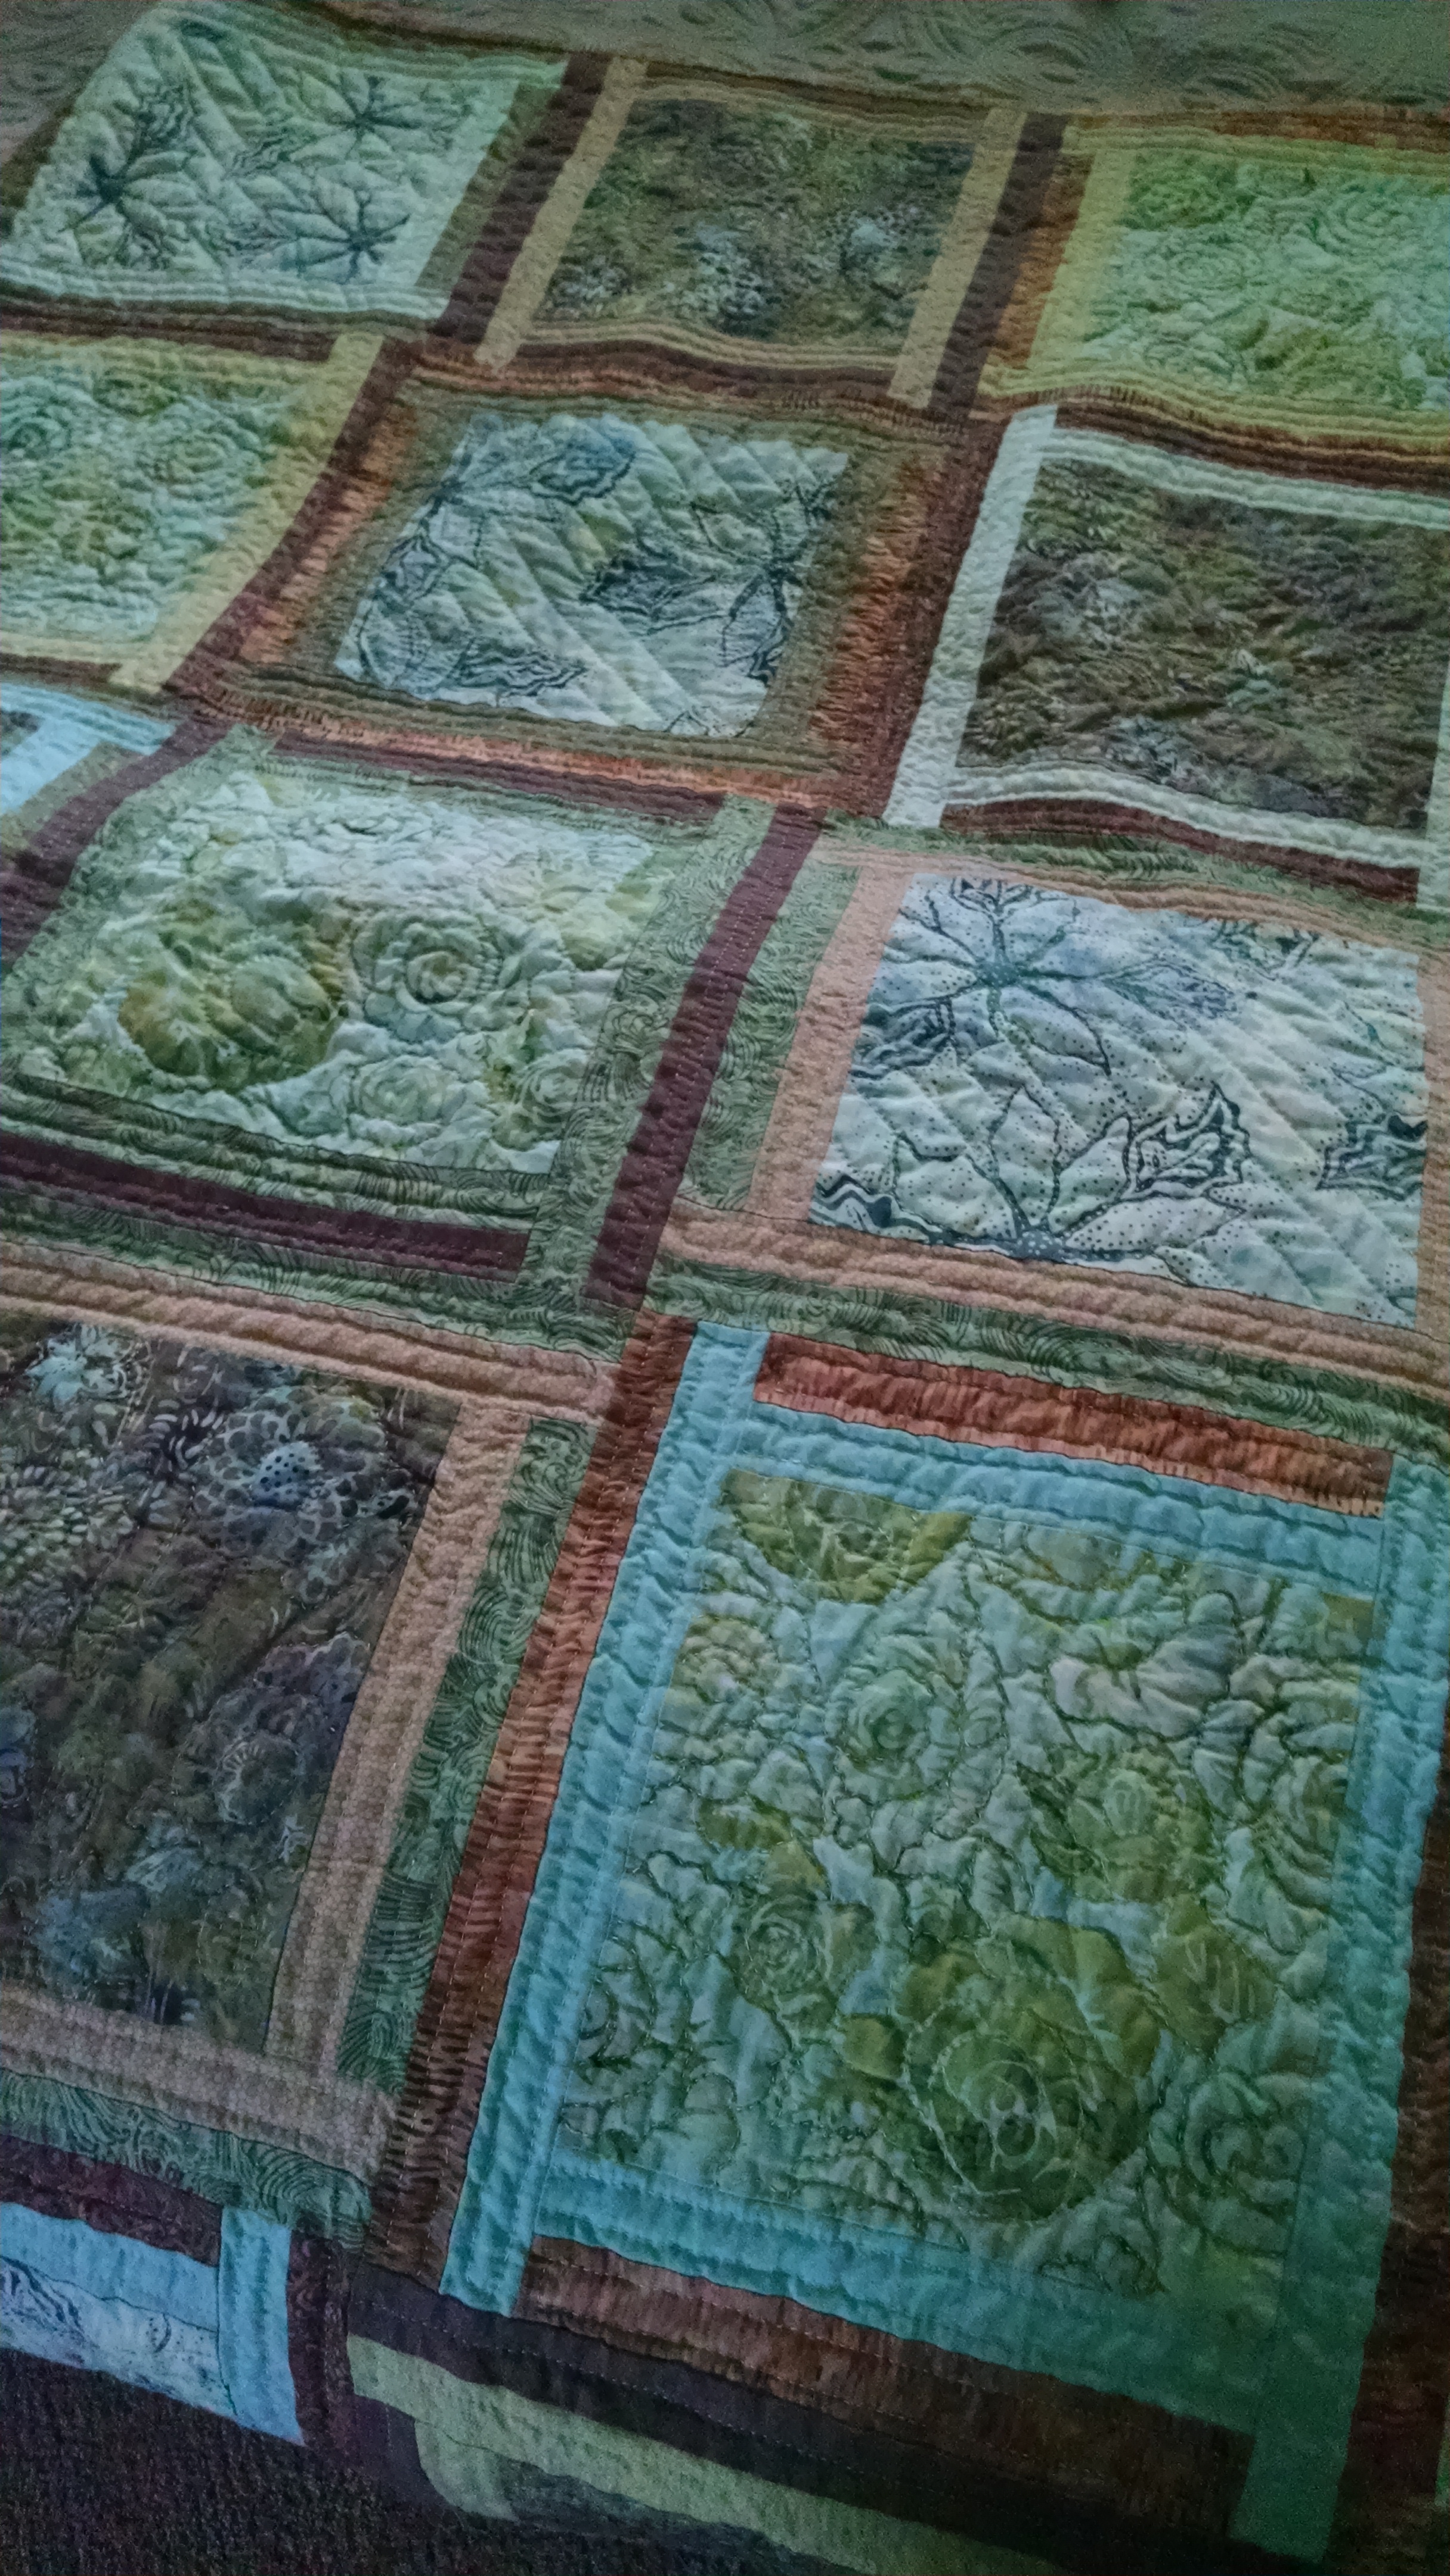
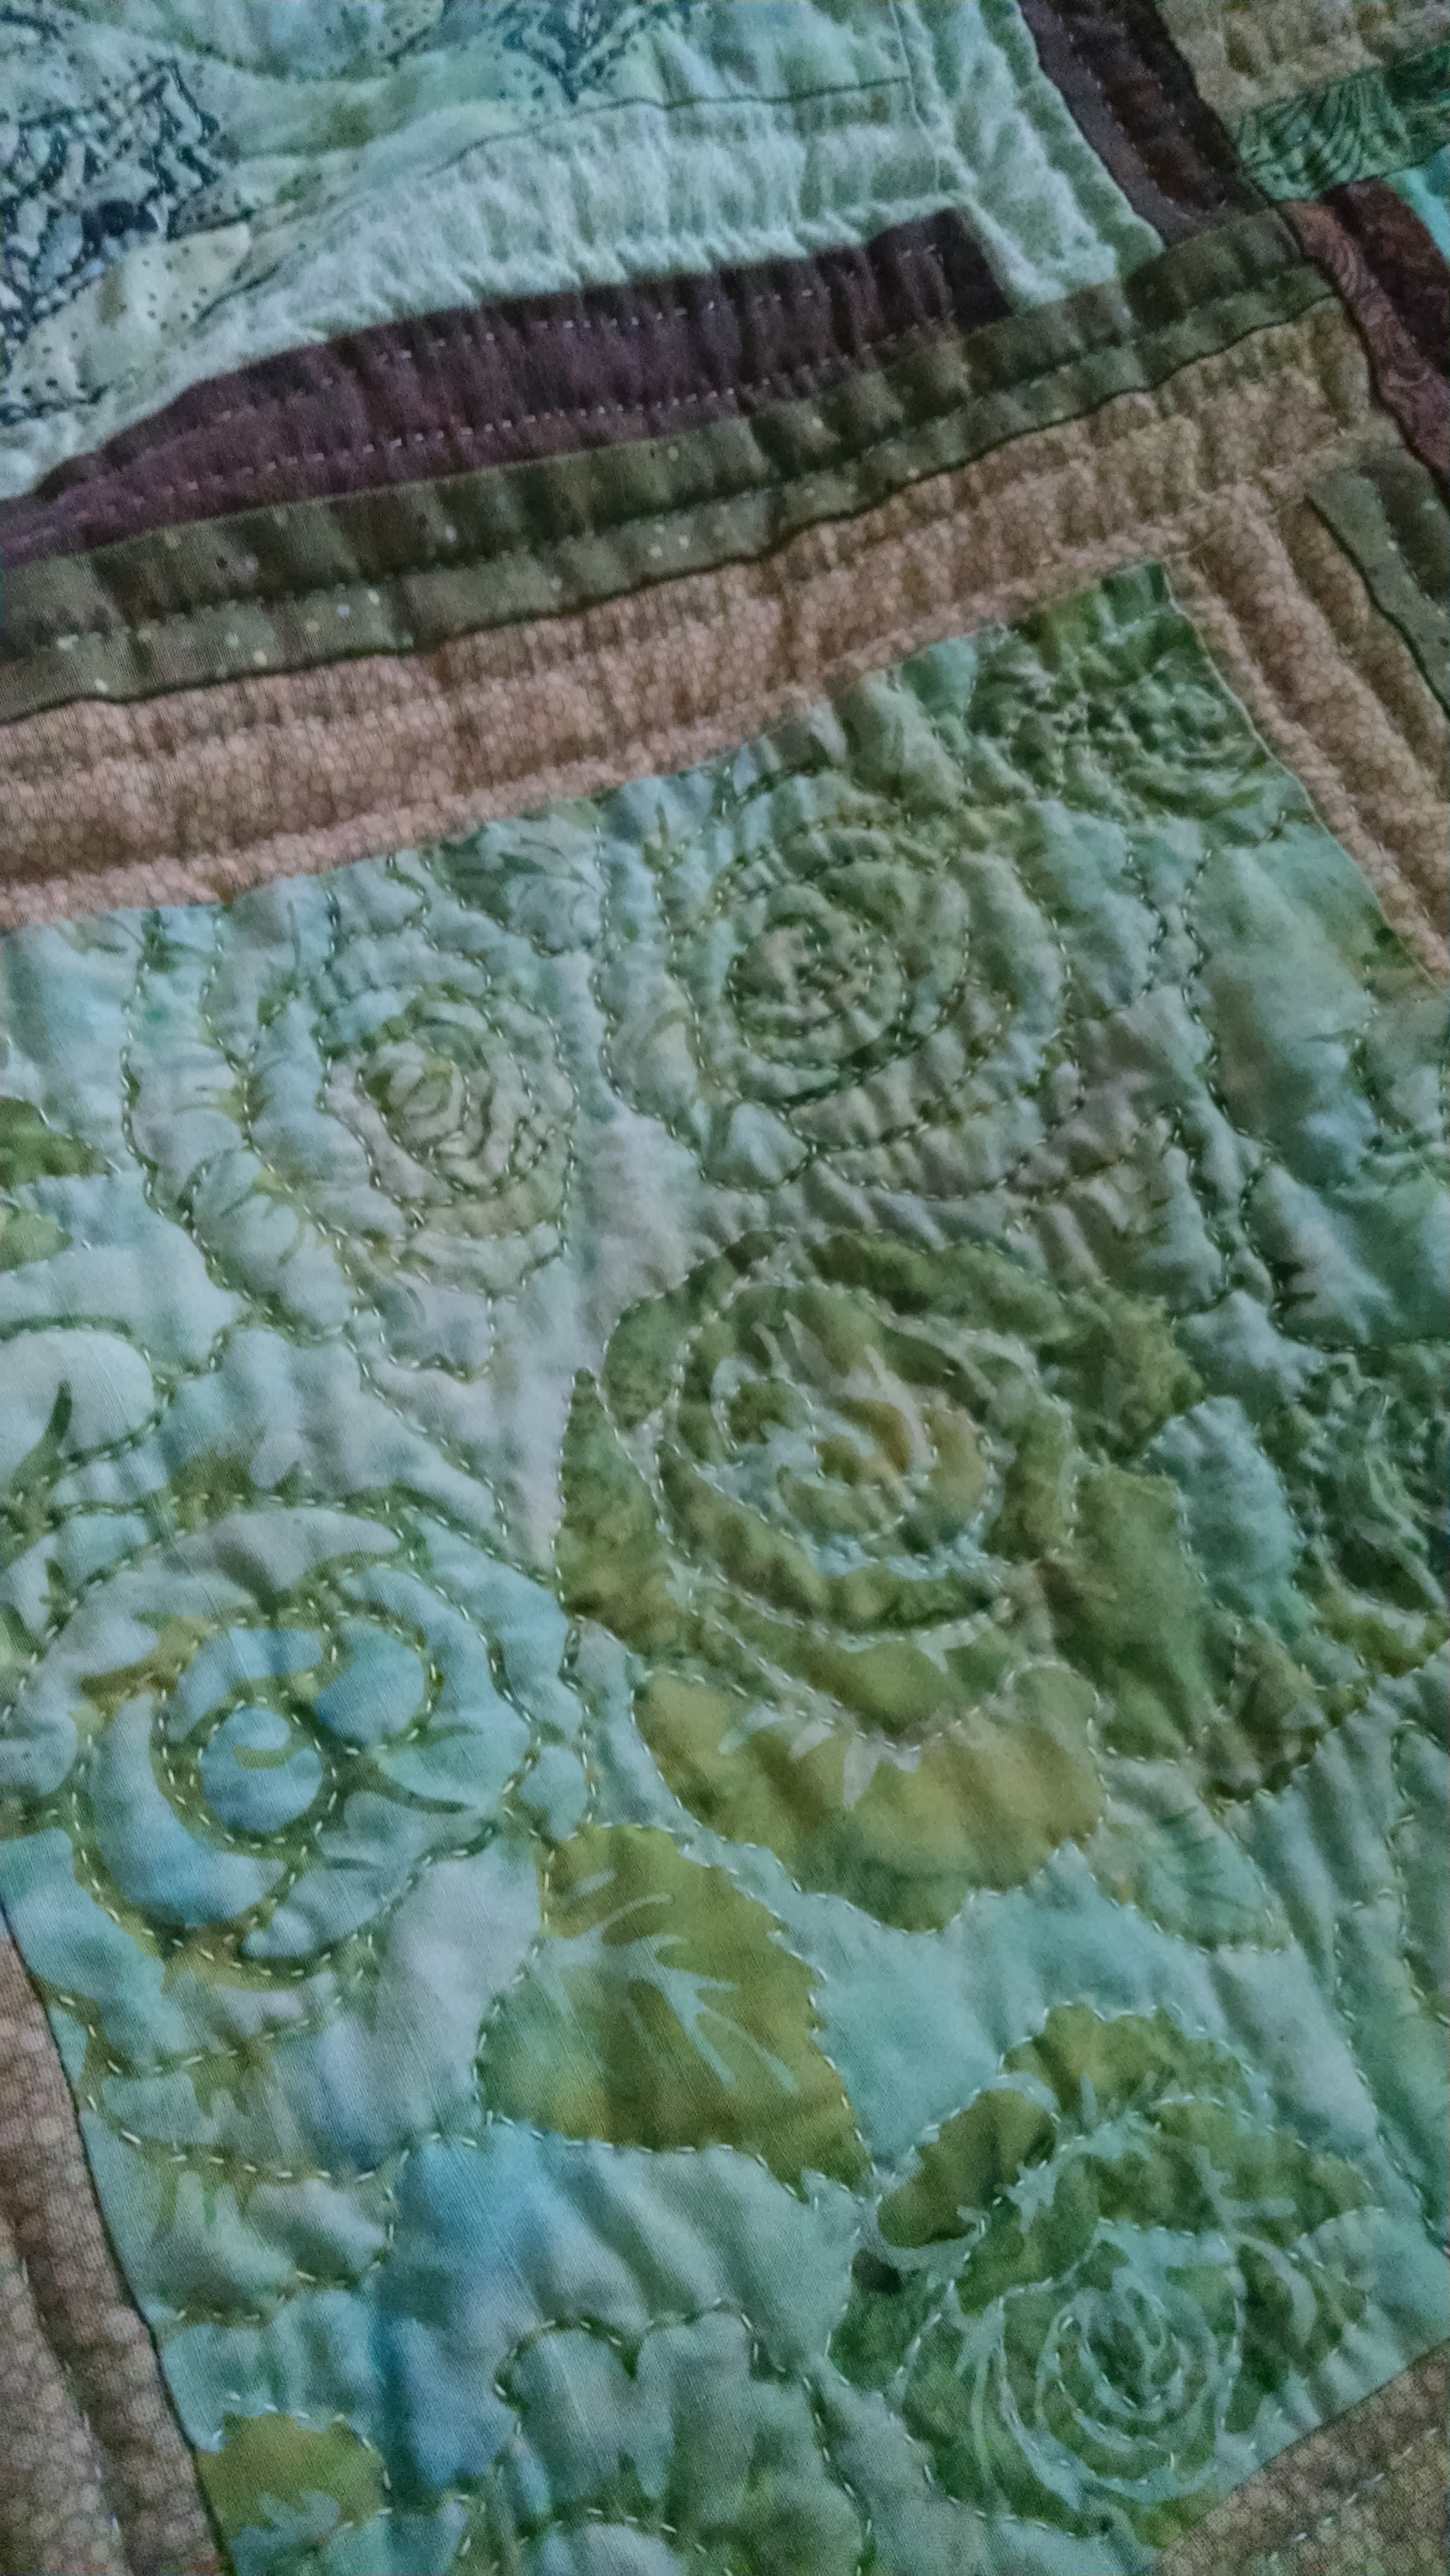
Also in the works, thanks to Tim Latimer  (see timquilts.com)  is a redesign of a vintage quilt top rescue.  I am still in the process of deconstruction, but have a plan in mind.  More on that later this week.

The third project in the works, which will also appear in days to come, is a baby quilt, designed in the black, white and bright colors that are of the most interest to infants.

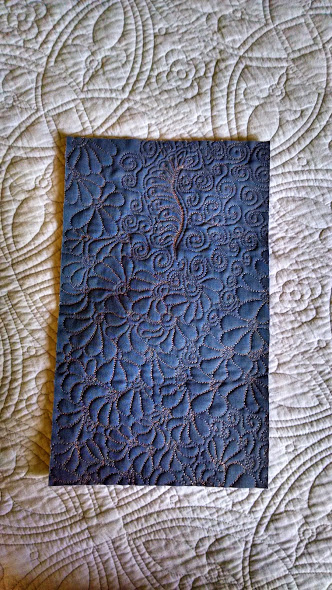
So back to my Coffee Break Quilt.  I found a free paper-pieced pattern for the coffee cup on Pinterest, selected colors that make me happy, and surrounded the blocks with those colors in solids, to give me a nice background for machine quilting.  The backing is flannel, to make it a nice cozy quilt for actually curling up with a hot beverage.  Here’s a close-up, for a better look at the quilting.

Coffee Break detail
Coffee Break detail
Advertisement

Design Your Own Wallet

finished wallet

Summer is drawing to an end and I must return from the long vacation I gave myself from blogging.  The quilting has continued throughout, of course, so there is plenty to talk about.

This post is largely intended to inspire you to create your own custom utilitarian items, using your quilting skills.  You will see the insight to be gained from such projects.  In attempting my first wallet, I considered what I want to have with me, so that I am free from a larger purse.  In my case, that is ID, space for credit and reward cards, cash and my smart phone.  I wished to have a handle so that my hands can be free when shopping.

As the phone was the largest item, I calculated the finished size based on it’s dimensions X 3, and made a quilt sandwich about an inch larger all around, to allow for fabric covered by binding and that taken up by the quilting.  After quilting, it looked like this:Wallet quilting

I used one fabric for my wallet, but this would also provide an opportunity to be creative.  Keep in mind that you will eventually have to sew many layers together, and avoid extra seams at the edges.  The batting provides some extra protection for my phone, but you could use something with less weight if your machine has trouble with many layers.

One end was then folded up, for the phone pocket, and fabric was accordion folded and sewn to the outside of the pocket in a way that fit the number and size of my cards.  (See below)

Wallet prep 4

(In designing your own wallet, it might make more sense to arrange the card pockets on the side opposite the phone pocket, to create fewer layers.)

The handle loop is added at this point.  I used a detachable fastener purchased at JoAnn Fabrics, I created the handle and loop at the same time by folding in raw edges on the long side and stitching.  I then cut off a piece long enough for the loop on the wallet itself and attached it now.  Here is a view taken after the binding is added (unfortunately).  It does show that I chose to put it on the inside so that it is concealed at times I am not using the handle.

Fasten detail

So there we have it.  Add binding all the way around and you are finished.  As you can see, there is nothing precision needed to design your own items, just a willingness to experiment and come up with an item that meets your needs and can be adapted for gifting.

Creating a Donald Duck (or any other favorite character) Quilt

finished donald

Sometime before last Christmas, I set aside blogging, as my then current projects were all to be top secret gifts.  Now as a snowbird on Hilton Head Island, with nothing more pressing than to enjoy the sun and do some quilting, it’s time to return to sharing. My first project after settling in was this quilt, in order to fulfill a Christmas IOU.  Well before Christmas, I  made several false starts that ended with tabling the project until after the busy holidays.  This had shown me what didn’t work, and made it easier to find a process that produced what I had imagined.  Below is a simple version of the steps.  Don’t hesitate to contact me if you need more details.

first three steps

1.  The first step was searching out the images I wished to use and transferring them to my blocks.  I found mine in Google images which is acceptable when making an item for your own use.  I used a printshop type program to create like-sized images and to print them. .  At this point you could use whatever method you prefer.  (Print directly on your fabric, print a heat transfer or print a copy and trace)  I was forced to trace, as I had brought copies and have no printer with me.  Make extra paper copies with any method, to use as patterns for the applique.

Fused applique2.  In choosing fabric, I was guided by Donald’s original cartoon images, only darkening them a bit to suit my own taste.  I then chose to work the rest of the quilt in those colors, adding only a striped fabric to draw the design together.  Fuse your fabrics to Wonder Under or the bonding product of your choice.  Cut patterns from your Donald image and trace them right side down to the Wonder Under backing of the appropriate colors.  Cut out the pieces and bond them to your block using the transferred image for placement. I then stitched around each piece, very close to the edge.  Donald is always shown with black lines around each object so I tried using my machine satin stitch for this, but wasn’t happy with the look, so ended up using hand embroidery for his lines.  Your might, however, wish to experiment with your machine.  A blanket stitch might have sufficed.

3.  Once the blocks were complete, I cut an assortment of various width strips of each fabric and laid them out to decide on my design.  Some people complete their design on paper and then know exactly what to cut, but this is the method I chose for this project.

laying out the design

4.  Now you are ready to sew your pieces together and create a quilt sandwich of backing, batting and the top.  I have recently begun using a spray bonding product in place of pinning.  This works so much better than pinning if you plan to free-motion quilt, which is my preferred method.

That completes your quilt.   Next blog I’ll share another simple wall hanging created as a thank you for a special friend.

Finally Finished!

HQ 1<a

After a full year of dragging this lap robe quilt about with me, it is finally finished.
This is the quilt which has been the inspiration for my desire to perfect free-motion quilting. The quilting is hand done, and I have now realized how few hand quilted projects I would be able to finish in my lifetime.

HQ3

Here is the detail. My stitching is coming along, but it was during the long process of finishing that I began to experiment with free-motion.

I do love the colors in this quilt and am drawn to batiks. As you can see, it is another simple design, purposely chosen for ease of hand quilting. It would, however, equally have lent itself to free-motion. So on I go to perfect those skills. First class tomorrow! The teacher has directed us to Patsy Thompson’s website to make copies of the free-motion designs offered there at no charge.